

DataFX Tutorial 6
#DataFX
#JavaFX

In this tutorial I want to show how dynamic actions can be handled in DataFX. In all the last tutorials the actions are defined in the flow configuration or by using annotations. By doing so you can't dynamically choose which action should be called when clicking a button for example. To do so DataFX provides the FlowActionHandler class. This class provides methods to call DataFX actions directly in code. Here are some examples:
flowActionHandler.navigate(NextController.class);
flowActionHandler.navigateBack();
As you can see the FlowActionHandler class provides methods for all the action types that are supported in DataFX by using annotations or the flow configuration.
Normally you want to use the FlowActionHandler inside of a view to call dynamic actions based on a user interaction. To do so DataFX provides the @ActionHandler annotation that can be used to inject the FlowActionHandler in a view controller. Here is a small example how this will look:
public class MyController {

    @ActionHandler
    protected FlowActionHandler actionHandler;

    public void doSomething() {
        actionHandler.handle("actionId");
        //or
        actionHandler.navigate(NextController.class);
    }
}
As you can see it is really easy to call DataFX actions in code. As a next step we want to create a small application that uses this features.
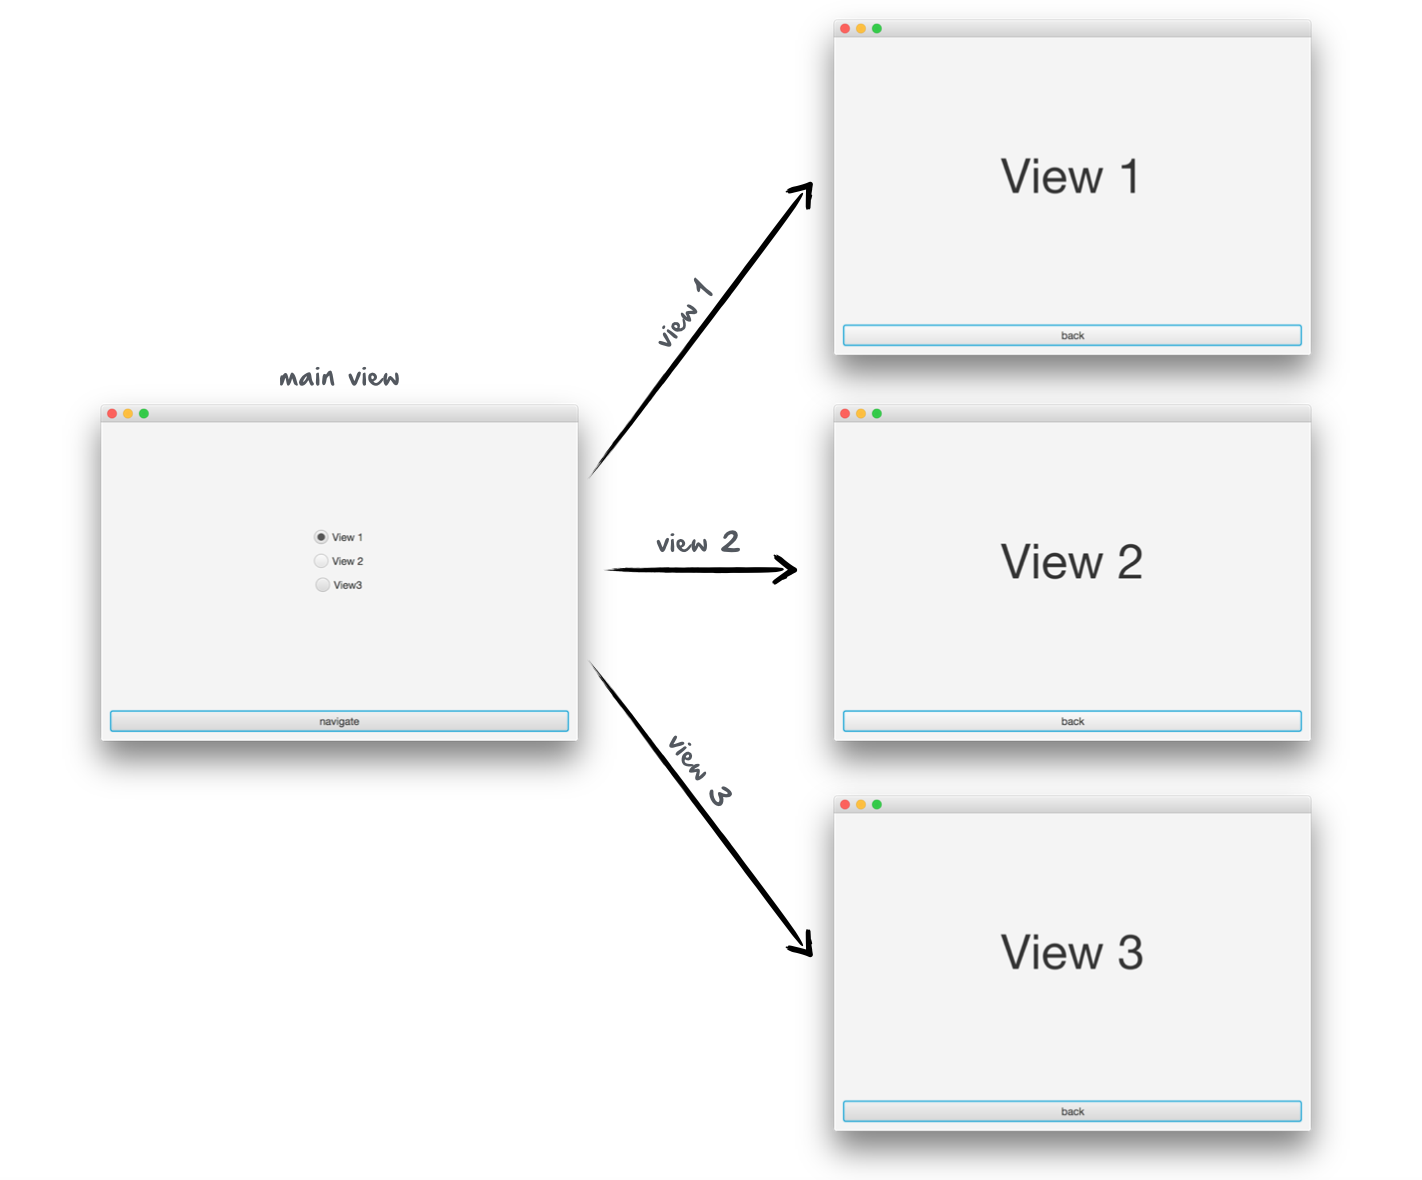
Let's say we have a main view and 3 sub views. In the main view you can choose by using radio buttons to which view you want to navigate.
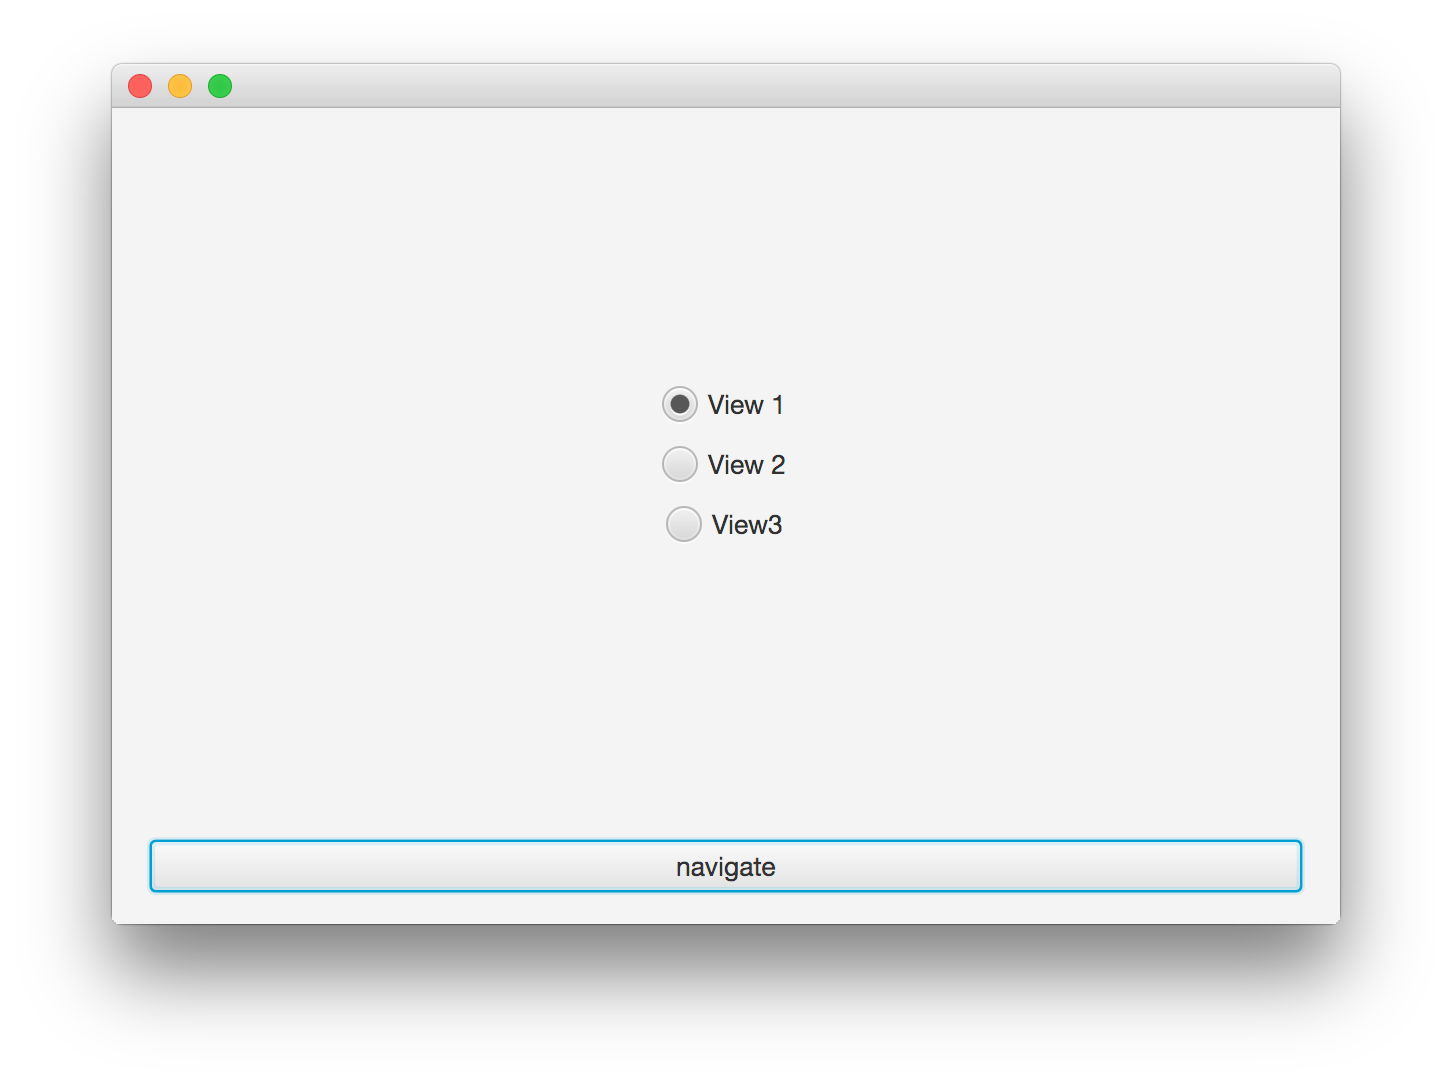
To do so we create a controller with the "navigate" buttons and the radio buttons. As a next step we need to define a ToggleGroup for all the radio buttons. This group manages the RadioButton instances. By doing so you can only select one RadioButton. This is a JavaFX basic feature. If you want to now more about RadioButtons and ToggleGroups you should [buy this book]({{ site.baseurl }}{% link pages/mastering-javafx-controls.md %}) or visit this training. After this is done the controller should look like this:
public class MainController {

    @ViewNode
    private RadioButton radioButton1;

    @ViewNode
    private RadioButton radioButton2;

    @ViewNode
    private RadioButton radioButton3;

    @ViewNode
    @ActionTrigger("navigate")
    private Button navigateToButton;

    private ToggleGroup group;

    @PostConstruct
    public void init() throws FlowException {
        radioButton1.setUserData(View1Controller.class);
        radioButton2.setUserData(View2Controller.class);
        radioButton3.setUserData(View3Controller.class);

        group = new ToggleGroup();
        group.getToggles().addAll(radioButton1, radioButton2, radioButton3);

        radioButton1.setSelected(true);
    }
}
As you can see in the code I don't use the @FXML annotation. With DataFX 8 we introduced the @ViewNode annotation to inject components of the view in the controller. Basically this annotation can be used as the @FXML annotation but it provides more features. You can define the fx:id of the node as the value of the annotation, for example. By doing so your field must not have the same name as the node in the FXML file. Here is a short example how this can be used:
private Button anyName;
In addition the JSR-377 is currently planned and this will introduce a UI Toolkit independent annotation to inject view components. DataFX will implement the JSR once it is released and therefor we started to define our own basic annotations. SO maybe the name of the annotation will change once the JSR is released.
Once the controller is finished we need to add the action handler and navigate to the selected view. The RadioButtons instances in the controller define the controller classes for all the subviews as user data. By doing so we can simply navigate to the selected user data. Here is the final code for the controller:
public class MainController {

    @ViewNode
    private RadioButton radioButton1;

    @ViewNode
    private RadioButton radioButton2;

    @ViewNode
    private RadioButton radioButton3;

    @ViewNode
    @ActionTrigger("navigate")
    private Button navigateToButton;

    @ActionHandler
    private FlowActionHandler actionHandler;

    private ToggleGroup group;

    @PostConstruct
    public void init() throws FlowException {
        radioButton1.setUserData(View1Controller.class);
        radioButton2.setUserData(View2Controller.class);
        radioButton3.setUserData(View3Controller.class);

        group = new ToggleGroup();
        group.getToggles().addAll(radioButton1, radioButton2, radioButton3);

        radioButton1.setSelected(true);
    }


    @ActionMethod("navigate")
    public void navigate() throws VetoException, FlowException {
        actionHandler.navigate((Class<?>) group.getSelectedToggle().getUserData());
    }
}
Once this is done you can select the wanted view in the UI and by clicking the "navigate" button the view will change to the selected one.
All the view controllers for the subviews are defined as shown in earlier tutorials. You can find the complete code of the example here.